September 29, 2011
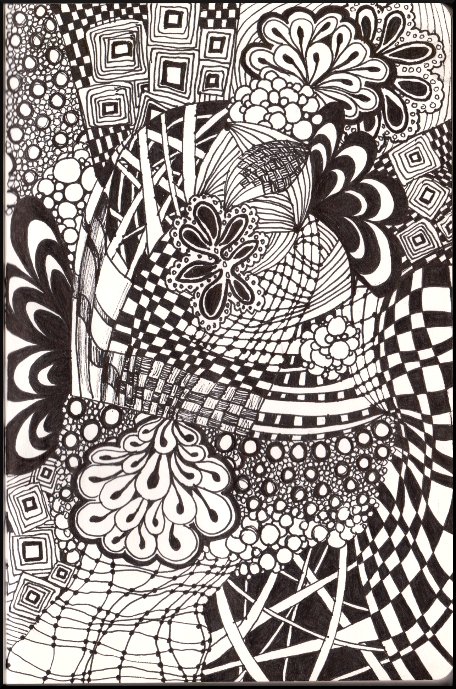
Here is something of the non-Icarus variety that I've been working on this week...
September 28, 2011
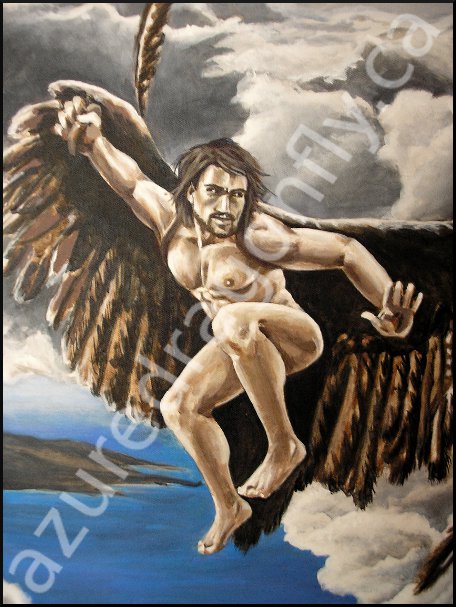
Today I spent the day working more fine detail into Icarus. Next, I'll be moving on to fine detail in the wings - likely a day's work in itself!
September 27, 2011
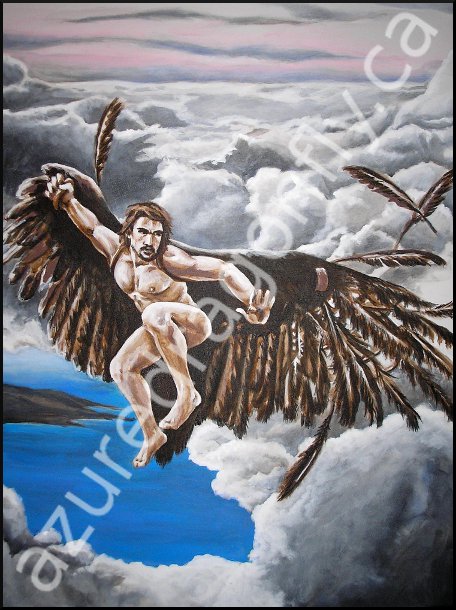
I made up for some lost time today with my painting of Icarus, and started to lay in some colour in the water, land and distant clouds. I also worked into the shadows of Icarus' wings, and made a few tonal changes in the clouds behind him.
Tomorrow I'll be working more detail into Icarus' wings and body, and making further adjustments to the clouds as needed.
September 26, 2011
I'm continuing to work into the clouds around Icarus, focusing on blending and softening the shapes to make them as cloud-like as possible!
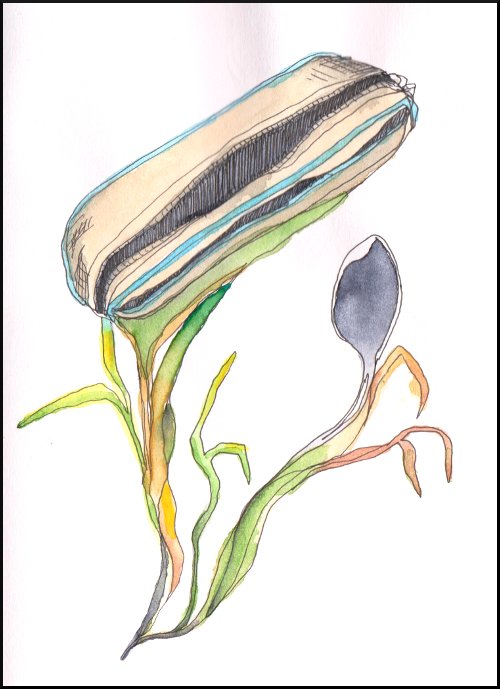
Today is a rather fractured day work-wise. I'll be flitting from one thing to another, so instead of another photo of my progress with Icarus, I'm offering a piece from my sketchbook. This was a cheeky little drawing I did a while ago as an excuse to play with my watercolour pencils, and for something to do while I listened to CBC Radio podcasts. I wasn't really thinking so much about the imagery - I drew my pencil case and a spoon, and before I knew it, they were sprouting up from a corn stalk (?).
Tomorrow we're back to Icarus, I promise.
September 23, 2011
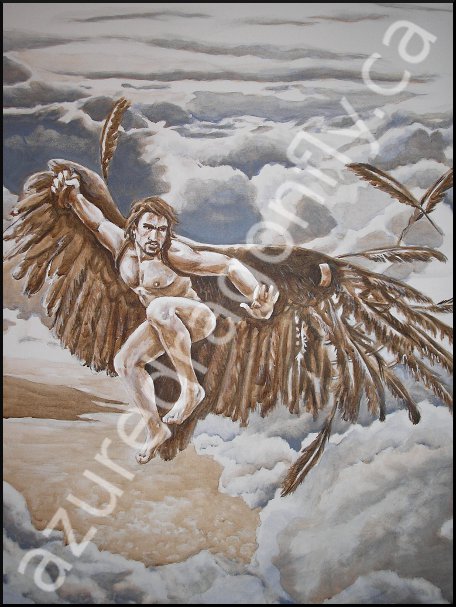
I decided on second inspection that my underpainting needed a few tweaks in regards to value and detail, so before I launched into colour I made the changes that were needed. Today I started laying in the cool grey-blue of the dramatic clouds behind Icarus, painting in with loose washes, then scrubbing edges to produce vaporous shapes. As I paint the clouds I'll be alternating between light and dark, soft and hard edges, back and forth until I've achieved the depth and variety that I want.
September 21, 2011
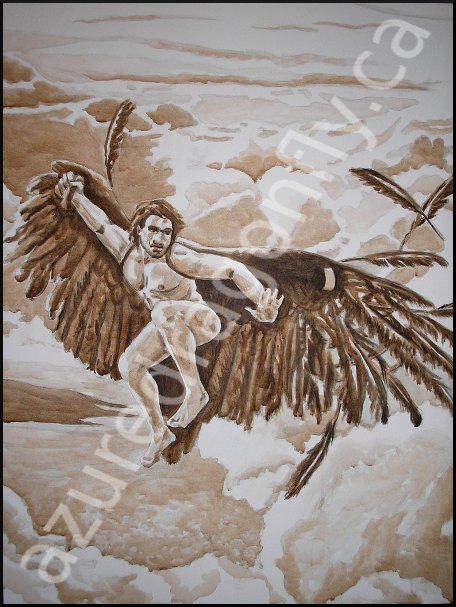
Here is the completed underpainting for Icarus with the addition of some darker values.
Next, I will begin to paint in colour, and I'll post my progress as I go.
September 20, 2011
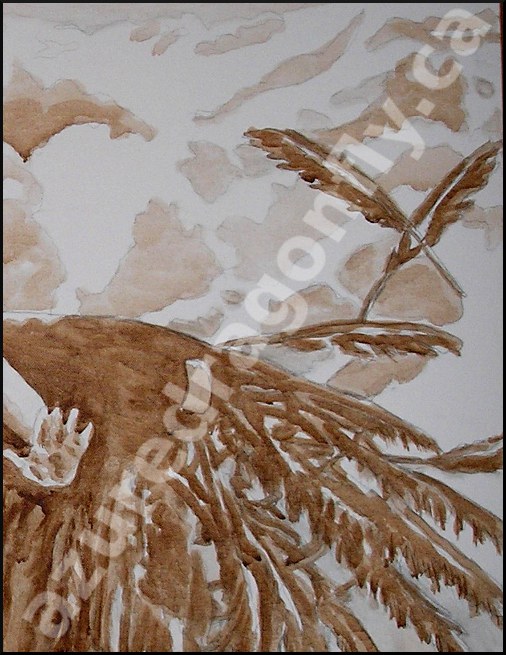
Here is a portion of the Icarus underpainting, about 70% completed. You can see how I'm underpainting in a very loose, fluid way, mainly working in basic shapes and roughing in values. Once this stage of the underpainting is dry I'll do another, slightly darker wash of Burnt Umber and Mars Black to establish the very dark areas. My final step will be to focus on bringing out details in the figure and his wings - the most important focal areas in the piece. I'll post the completed underpainting tomorrow, and then it's on to colour!
September 19, 2011
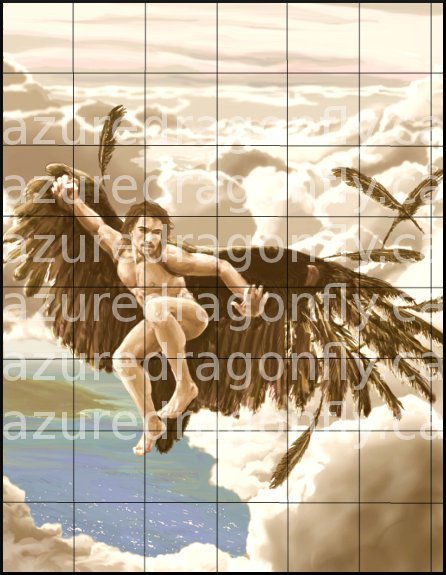
The first step I take in transferring a digital image to canvas is to build a grid. The number of segments I use to break up the painting differs depending on the complexity of the image and the size of the canvas I'll be painting on. Essentially the idea is to help locate landmarks in the image and preserve proportions, so I don't fuss over the small details. Fine detail will change and vary a bit when it comes time to paint on canvas - that's what makes it an original and not a print!
The second stage is to transform the digital reference into a monochromatic image, which will be my colour reference for the piece's underpainting. I like to use a thin wash of Burnt Sienna or Burnt Umber to rough in the values of the painting so that I get them right the first time. This is also a good opportunity to adjust any values that might need lightening or darkening for the purposes of composition.
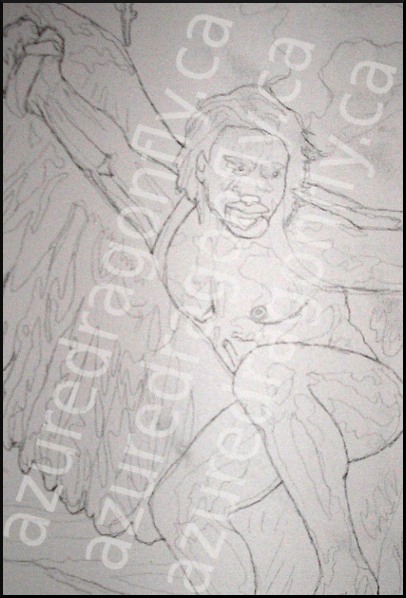
After the digital reference is adjusted, I begin the process of transferring, taking lots of breaks to stretch and walk around. When I'm finished, I erase my grid lines and any mistakes before beginning the underpainting (years ago I learned the hard way that pencil doesn't erase after applying a wash of paint!).
Below I've included my reference image and a detail from my finished transfer. Tomorrow, it's on to the underpainting!
September 17, 2011
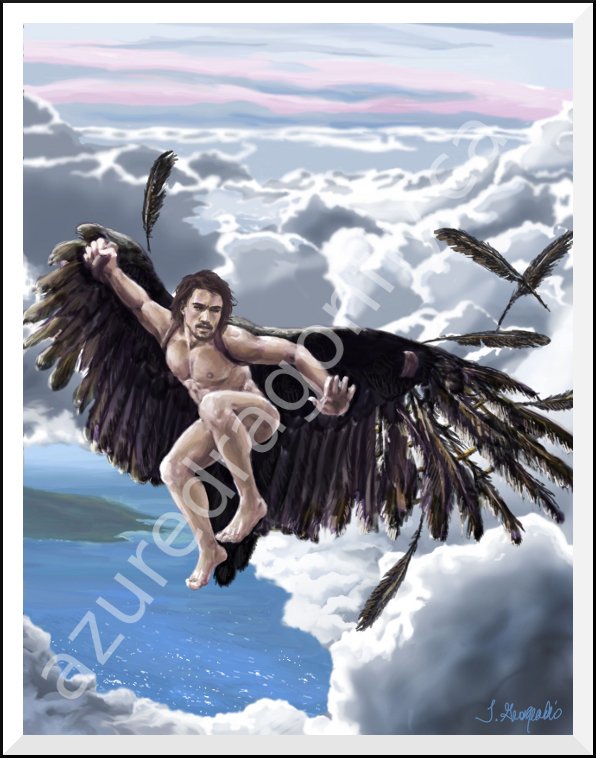
I've recently been commissioned to paint an image of Icarus from Greek mythology. I created the digital version (below) to be used as a working model for the client's approval, but my commission is for a painted canvas of this image. Beginning next week, I will be posting the various stages of painting this image onto a 30” x 40” canvas, beginning with the initial pencil sketch, followed by the monochromatic underpainting, and finally the colour overpainting.
Join me next week as I share with you my painting process!
September 15, 2011
Fear is something that every artist faces at one time or another. Where to begin when there is an empty, white canvas in front of you? What if you can't top your last successful piece? What if your creative spark fizzles out? How to start something that's outside of your creative comfort zone?
Over the past few years I've ventured into creative territories I never would have imagined a decade ago, not because I haven't experienced fear, but because I've found various ways to conquer my fears (or at least ignore them for a while!). One mechanism I use regularly is distraction. While I'm working I'll either have music or a movie playing in the background, depending on what sort of piece I'm working on. I find that splitting my attention between the project I'm working on and the media that's playing helps me to work more instinctively. My theory here is that I'm keeping my brain too busy to worry itself into a state of paralysis or over-think the work.
My dear sister sent me a link to an article called Transcending Fear in the Creative Process: 5 Timeless Insights. There are five book suggestions listed here that I hope might be useful to you in moving past fear in the creative process!

